This could be really bad! Be sure to disable “Open ‘safe’ files after downloading” in Safari’s preferences to circumvent this security hole.
Read more from J?rgen Schmidt, editor-in-chief at heise.de.
Proof of concept provided by Heise Security.
This could be really bad! Be sure to disable “Open ‘safe’ files after downloading” in Safari’s preferences to circumvent this security hole.
Read more from J?rgen Schmidt, editor-in-chief at heise.de.
Proof of concept provided by Heise Security.
Seems like the digital fortress that is OS X is finally starting to crack. Andrew over at the Ambrosia Software Web Board writes about what he sees as a Trojan for OS X which was postet at the MacRumors.com website.
It’s a little compressed file pretending to include screenshots of the next OS X version. When decompressed it appears to include a JPG file which in reality is a UNIX executable that performs several malicious functions.
From what he found out the Trojan tries to send itself via iChat to all your buddies, there is also code that tries to spread the Trojan via eMail but it looks like it’s not entirely finished.
Read more about the dissection in the original thread » here. Included is also a disassembled version (textfile) of the Trojan.
Here is the thread at MacRumors.com (link to the original file deleted).
So maybe it’s time for us Mac users to start running a virus scanner in the background while working?
Update: robg of macosxhints.com examined the Trojan a little further for Macworld at Digging deeper into the Leap-A malware. His resum??is the following:
I am now officially very sick of Leap-A, having spent probably 18 hours on it over the last two days. The short summary is that it’s a bad piece of malware that could have been worse but it’s far from the self-propagating internet-spreading virus/worm that’s been described on other sites. At the end of the day, it’s really just a good reminder to be very careful about what you download and install on your Mac.
I thought I’d post a little howto on how I try to keep the data on the hard drive of my little iBook save. So without further ado… here it is:
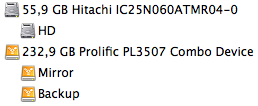 Next I partitioned the hard drive (using HFS+ for maximum compatibility under OS X) with one partition serving as the mirror for my internal 60GB disk. The rest of the disk is used as backup space for other data, right now we’ll only care about the mirror drive.
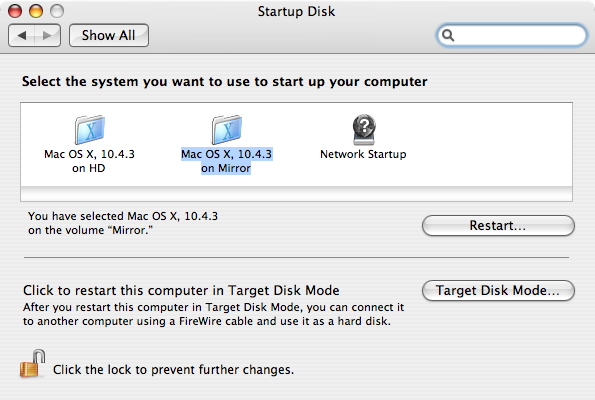 it as the startup disk in Mac OS X’s System Preferences and restarting the OS. It started up perfectly and I had the exact same system in front of me, except for the fact that it was running off the external FireWire drive and the internal disk was completely powered down.
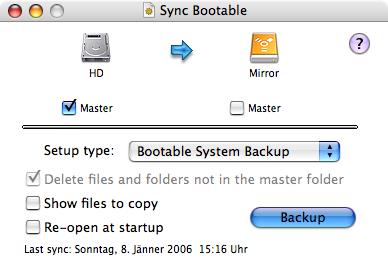 Again Google was my friend and after a few searches I came up with Synchonize! Pro X which has loads of options for possibly every synching need you might have or develop in the future. At the moment I’m just using the “Bootable System Backup” option to synch my internal disk with the external one.
I know it might not be perfect to do this just “whenever I think of it” (which is currently about twice a week) but it is still far more effective than my previous non-backup strategy which I kept running for over one year. Especially considered that I’m using my iBook on the road (at uni, at work etc.), always carriyng it around in my backpack which exposes it to the high risk of being damaged easily. With my current solutin my data is safe and I could even go to any arbitrary Mac, plug in the external drive, reboot and have my usual working environment running on the system.
edit: I know I could have maybe used Synchronize! X Pro for the entire progress of cloning and synching my hard drive. The reason I chose the detour over CCC was that I initially wanted to choose this programm for the synching as well but encountered that it was painfully slow and not as easy a one-click-solution as Synchronize! X Pro.
Mac Specialist has updated their list of essential Mac OS X software. The list isn’t exhaustive but it definitely has some good stuff and it looks like they are adding popular recommendations to the list.
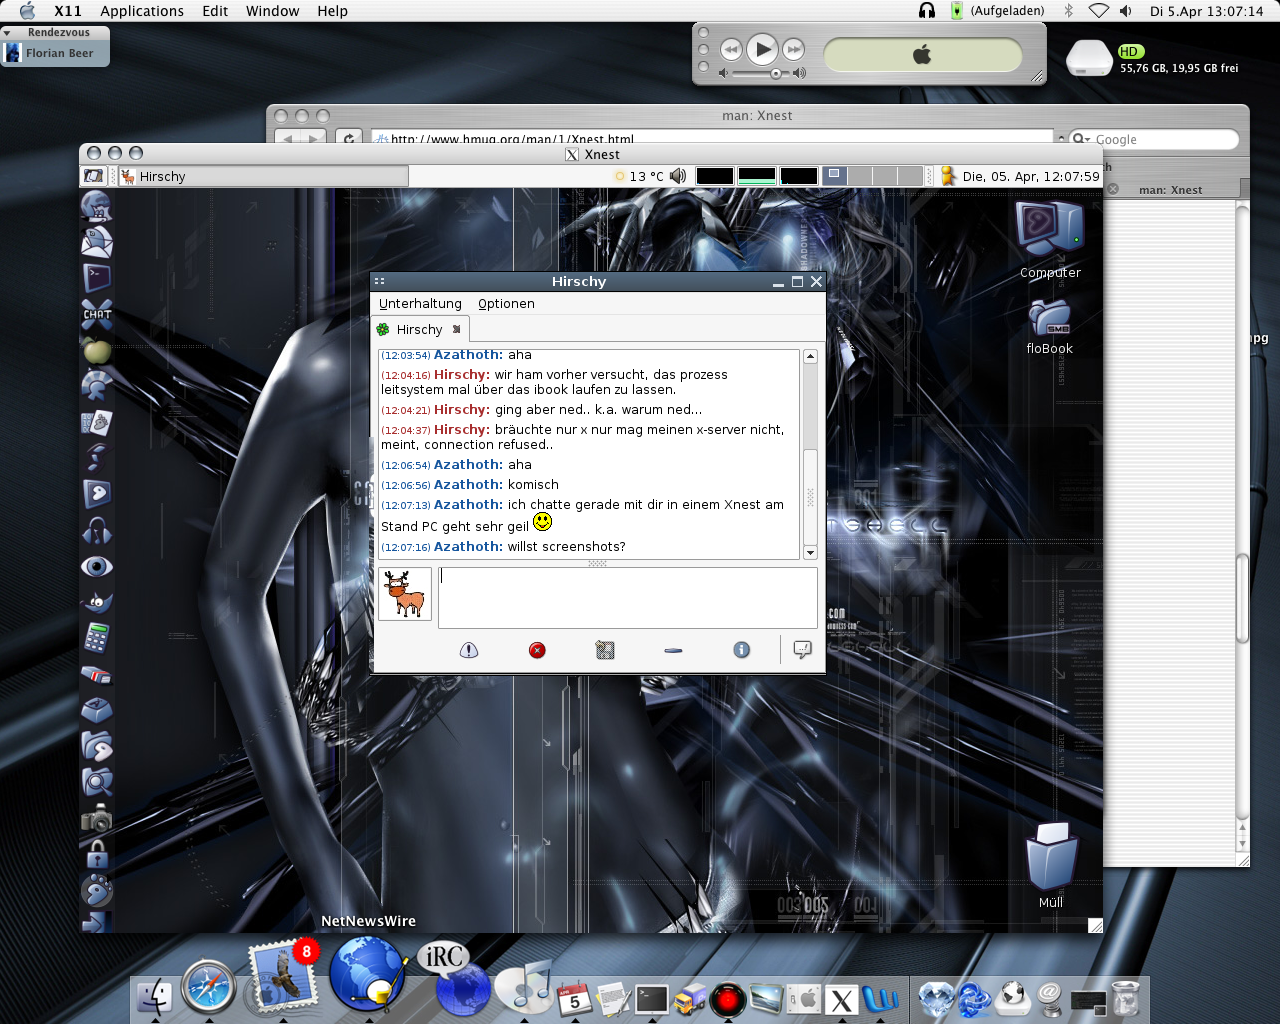
Ich habe schon längere Zeit die x-forwarding Funktion von SSH und den Apple Xserver vewendet um mir X Applikationen von diversen Linux Rechnern im LAN und über das Internet lokal anzeigen zu lassen. Was mich aber immer schon geärgert hat, ist dass ich nicht den kompletten Desktop, inkl. Windowmanager usw., einer entferntetn Maschine in einem Fenster am OSX Desktop darstellen lassen konnte.
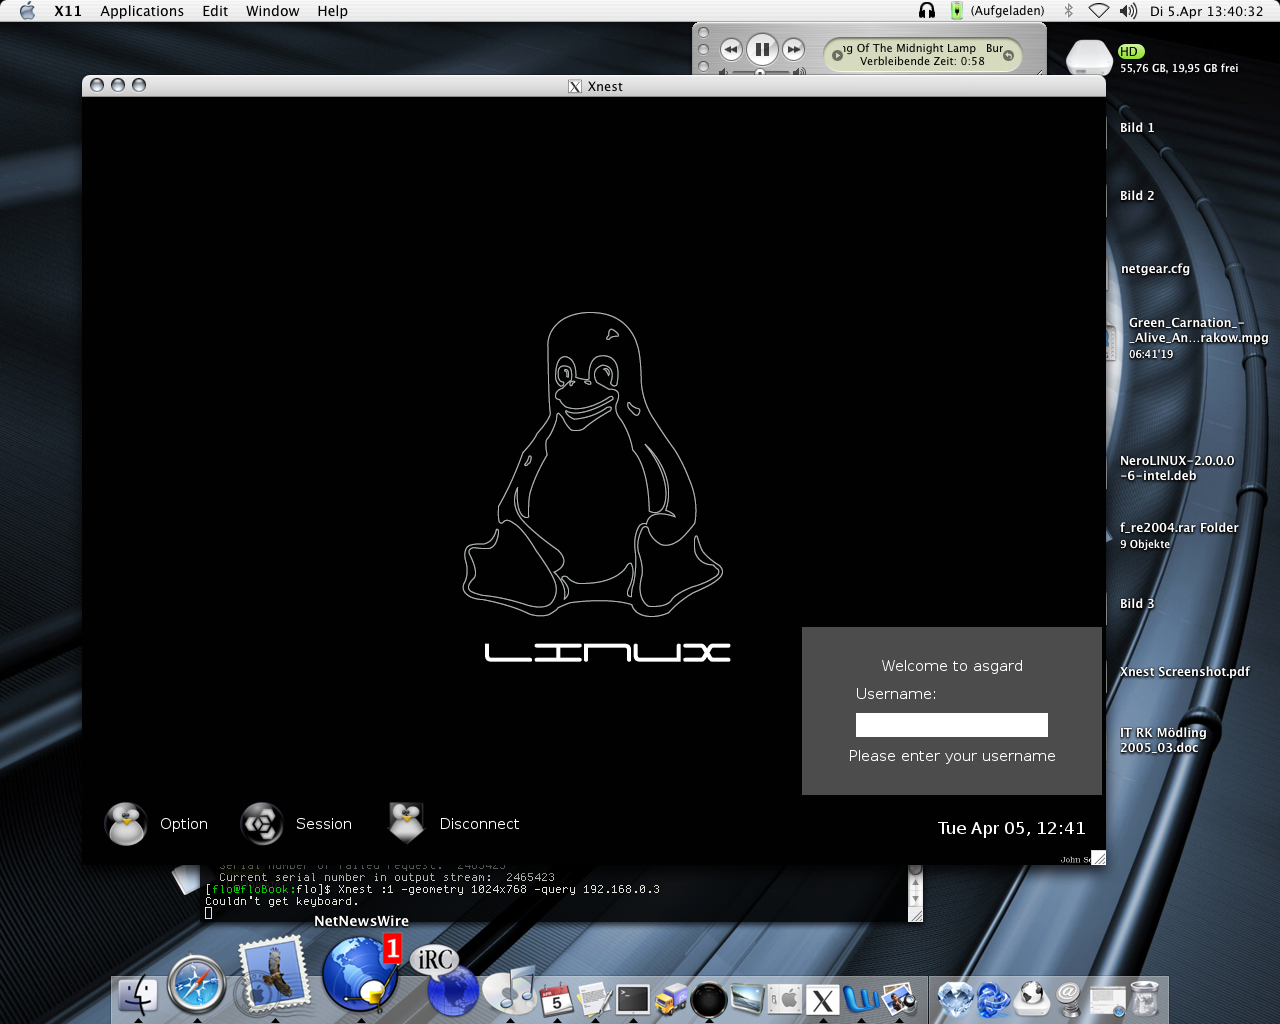
Auftritt Xnest 🙂
Xnest ist ein X-Server und ein X-Client zugleich. Es benötigt einen laufenden X-Server und stellt seinerseits wiederum einen X-Server für alle in Xnest ausgeführten Anwendungen bereit.
Ich habe nun zwei mögliche Wege herausgefunden um das gewünschte zu erreichen:
Dies setzt voraus dass XDMCP für Entfernte Anmeldungen aktiviert ist und der lokale X-Server läuft.
Xnest :1 -geometry 1024x768 -query 192.168.0.3
Erklärung:
ssh -XC yourdomain.com

Xnest :1 -geometry 1024x768 &

xterm -display :1
Erklärung:
Als letztes muss man nur noch in dem xterm im Xnest Fenster ein DE oder einen WM starten. In meinem Fall habe ich “gnome-session” eingegeben um den GNOME 2.0 Desktop zu starten.